
 Español

How Long Does Miniature Primer Take to Dry? (Complete Guide)
- 11/12/2026 12:55:59
- Home , Assembly and Painting Guides
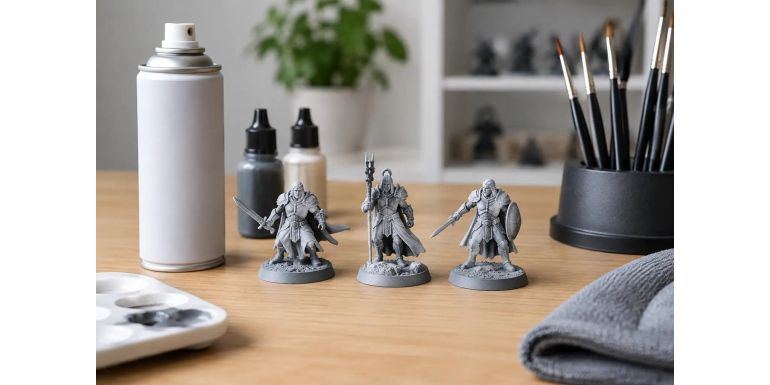
A freshly primed miniature may look ready in just a few minutes, but touching it, painting it, and masking it are three very different things. The question of how long primer takes to dry has a short answer and a useful one: it might be dry to the touch in 15 minutes, but it needs several hours to cure enough to handle paint, manipulation, and masking tape without issues.
For miniatures and terrain, respecting this margin prevents mistakes that are often blamed on the paint itself: lifting layers, brushstrokes dragging the base color, sticky surfaces, or a grainy texture that clogs up details. The exact time depends on the type of primer, the application method, the material of the piece, and your workspace conditions.
How Long Primer Takes to Dry by Method
As a general reference, spray primer is usually dry to the touch in 10 to 30 minutes. To start painting with a brush, it is best to wait at least an hour, and the prudent approach is to let it cure for 12 to 24 hours before heavily handling the miniature or using adhesive masks.
Brush-on primer typically needs 30 to 60 minutes to dry to the touch. If applied in a thin coat, you can paint over it after one or two hours. Even so, leaving it until the next day offers a much tougher base, especially on resin, metal, or pieces that will see frequent gaming use.
With an airbrush, very thin layers can dry in a matter of minutes. This is a real advantage for batch painting, but surface drying should not be confused with curing. Although you can apply another light coat in 10 to 15 minutes, wait an hour before brushwork and longer if you plan to handle the piece without a handle or holder.
These figures apply to an acrylic primer properly applied at around 20 °C (68 °F) with moderate humidity. The manufacturer always has the final say, especially when using polyurethane, enamel, or lacquer formulas.
Dry to the Touch vs. Fully Cured
The difference matters more than it seems. When primer is dry to the touch, the solvent or water on the surface has evaporated enough so that it won't leave a fingerprint when brushed. Beneath the surface, however, the film may still be soft.
An uncured layer can suffer if you apply very wet paint and overwork it with your brush. It is also much easier to leave marks when holding the miniature, peel off the primer when removing tape, or lose adhesion on sharp edges and high-friction areas like weapons, bases, and shoulder pads.
-
For a gaming unit that you will paint with standard layers, a one-hour wait is usually enough if the primer is thin and the environment is cooperative.
-
For a display miniature, a vehicle with masking, or a terrain piece that will receive heavy washes, letting it cure overnight is a sensible decision. It doesn't slow down the project; it prevents having to fix mistakes later.
What Changes the Drying Time?
-
Temperature: Temperature is the primary factor. In the cold, evaporation slows down, and the primer can go on thicker than intended. Below 15 °C (59 °F), a spray primer can take much longer to dry and leave a rough surface. If it's too hot, part of the product may dry before settling on the miniature, creating a gritty or powdery finish.
-
Humidity: Humidity also plays a role, especially with water-based products. On a very humid day, the layer takes longer to lose water and can remain satin or sticky for hours. With sprays, high humidity can cause a white blush (frosting), especially on varnishes, and can negatively affect primer adhesion.
-
Coat Thickness: Coat thickness is the third critical point. Two light passes, separated by a few minutes, dry and cure better than one heavy pass. With sprays, aim to cover the original color without flooding recesses. With a brush or airbrush, avoid letting primer pool in details like faces, chains, rivets, and stonework textures.
-
Material: The material matters too. Polystyrene plastic usually accepts a thin coat well. Resin must be thoroughly cleaned of mold release agents, and metal benefits from a well-cured primer because any bump will reveal the raw material underneath. For MDF, cardboard, foam, or 3D-printed terrain, porosity and absorption can alter both coverage and drying times.
How to Tell If It’s Ready to Paint
You don't necessarily have to touch the miniature with your bare finger to check.
-
Check the finish: A ready primer should look uniform, with no glossy wet spots, puddles in the crevices, or areas that change tone when you tilt the piece.
-
Check the smell and texture: Hold it by the base or a handle. If there is no strong solvent odor and the surface looks evenly matte or satin, you can usually start with a thin base coat.
-
Test it: If in doubt, test on the bottom of the base or a leftover sprue. A smooth brushstroke that flows without dragging the underlying layer is a reliable sign.
Avoid accelerating the process with a very hot hairdryer. Steady, lukewarm air can help move ambient moisture, but direct high heat can warp thin plastic, soften glues, or cause the outer layer to seal before the trapped moisture underneath can evaporate. A well-ventilated, dry room with a stable temperature works best.
Common Mistakes When Priming Miniatures and Terrain
-
Painting immediately because it doesn't look wet: This might work for a simple figure, but it introduces an unnecessary variable when applying contrasts, glazes, or heavily thinned base coats. Giving the primer time improves the consistency of everything that follows.
-
Using a thick coat to save time: On miniatures, primer should never obscure details or fill in the texture of chainmail, skin, or a brick wall. On terrain, an excessive layer can seal absorbent materials unevenly, causing subsequent paint to behave differently across different areas.
-
Rushing outdoor priming in bad weather: If there is no alternative, use a spray booth or a protected space and let the pieces dry indoors under controlled temperatures. Shaking the can well, testing on cardboard, and spraying from the recommended distance solve more problems than trying to fix them afterward.
A Workflow That Avoids Needless Waiting
The practical way to integrate drying times into your hobby routine is to prime in batches. While a batch of infantry or terrain pieces settles, you can clean mold lines, texture bases, prep wet palettes, or organize colors for the next step. With an airbrush, alternating between several pieces lets you take advantage of short drying times between coats without forcing the cure.
If you use multiple primers—such as black for figures, grey for vehicles, and white for bright-colored pieces—label your handles or keep the batches strictly separated. That way, you won't have to touch a piece prematurely just to check which one was primed first.
Primer is a discreet layer, but it supports your entire paint job. Give it the time it needs, and your colors will apply with more control, your details will retain their definition, and your miniatures and gaming tables will hold up much better to heavy use.