
 Español

How to Seal Scenery Pigments Without Losing Texture | Guide
- 07/27/2026 09:38:15
- Home , Assembly and Painting Guides
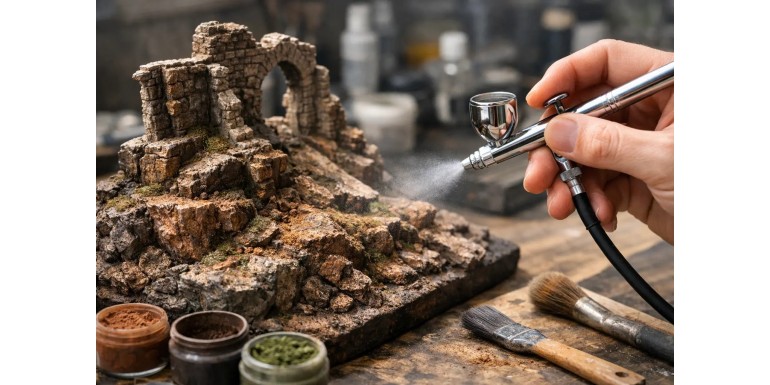
The dust on a dirt road, the soot of a burned ruin, or the dry earth on an elevated hill can give character to an entire gaming table. The problem arises when handling it: poorly fixed pigment ends up on your hands, your dice, and inside your transport box. Knowing how to seal scenery with pigments means preserving that matte, rough finish without turning it into a dark, satin, or flat surface.
Pigments do not behave like acrylic paints. They are extremely fine color particles without binders, which get trapped between the texture, fibers, and pores of your terrain piece. That is why the sealing method must be chosen based on the effect you want to achieve and the actual use of the scenery. A ruined building meant for a display cabinet allows for different solutions than a forest module moved every weekend from the table to a carrying case.
Before Sealing: Prepare a Surface That Grips
The best fixative cannot compensate for a poorly planned base. Pigments hold much more securely on a matte, textured surface: sand, texture pastes, cork, putty, rocks, dry foliage, or a layer of paint with visible brushstrokes. On smooth plastic, polished resin, or a coat of gloss varnish, they slide off easily, and the sealing process can wash them away.
-
Paint your scenery completely before applying pigments. Shadows, highlights, and base colors should be finished, as correcting an area after setting the dust forces you to repeat the process.
-
If you used glossy washes or water effects, let them cure completely and save those areas for the end.
-
Apply the pigment with an old, short, soft brush. Dab it on and work gradually from less to more. In an abandoned factory, for example, it makes sense to concentrate rust and dust around rivets, corners, and ledges. On a road, the lighter tone should accumulate along the edges and high-traffic paths.
Rule of thumb: Do not cover the entire piece uniformly—pigment works best when it looks like a natural consequence of the environment.
How to Fix Pigments on Scenery Without Dulling the Color
There are three main methods: using a specific pigment fixer, applying a carefully controlled varnish, or integrating the pigment with a liquid medium. None is inherently superior; the choice depends on the size of the piece, the fragility of the effect, and how much handling it will endure.
       [ METHOD ]                      [ BEST FOR ]                   [ KEY ADVANTAGE ]
-----------------------------------------------------------------------------------------------
1. Pigment Fixer            Deep rust, soot, localized dust        Preserves natural texture
2. Spray/Airbrush Varnish   Large gaming terrain, tournament boards Maximum protection
3. Acrylic Medium/Paste     Wet mud, compacted dirt, heavy usage   High durability & volume
1. Pigment Fixer: The Safest Choice for Localized Effects
A dedicated pigment fixer is designed to penetrate the powder by capillary action and lock it down as it dries. Apply it with a dropper or a fine brush loaded with liquid, letting it gently touch the edge of the dusted area. Do not rub or drag the brush—let the liquid flow on its own between the particles.
When wet, the pigment will darken significantly. This is completely normal and can be alarming, especially with sand, off-white, or light dust tones. Wait for it to dry completely before judging the result, as much of the matte finish returns as the solvent evaporates. Still, almost all pigments remain slightly darker and more intense after fixing. Always test on a spare piece of terrain or the back of the model first.
This technique is ideal for: Rust, ash, damp earth, charcoal residue, and deep dust buildup. It also allows you to maintain feathered edges if you apply the fixer only to the center of the patch, leaving loose pigment around the perimeter.
2. Matte Varnish: Useful for Gaming Scenery (With Caution)
Matte varnish is practical when you need to protect large pieces subject to heavy handling. However, spraying it directly onto dry pigments is a common mistake. Spraying too close can blow the powder away, while heavy coats can create dark blotches, flatten the visual texture, or leave an unwanted satin sheen.
If you choose varnish:
1. Use extremely thin coats.
2. Spray from a distance so the mist settles softly on the surface rather than soaking it.
3. Apply 2 or 3 light passes, letting each dry in between. Keep the can moving and never point continuously at one spot.
Matte varnish works best as an overall protective seal after you have already fixed the heaviest pigment buildup with a liquid fixer. For tournament or gaming club terrain, this combination offers the perfect balance: the fixer keeps the earth and rust in place, while the varnish protects the underlying paintwork from scratches during gameplay.
(Note: Environmental humidity, an un-shaken can, or cold temperatures can leave a white haze or unwanted shine. Always run a quick test shot before spraying your finished piece!)
3. Mixing Pigment with Medium: Durability for Mud and Compact Soil
When you want to simulate caked mud, dried sediment, or wet earth rather than loose dust, mix the pigment directly with a matte medium, fine texture paste, diluted PVA glue, or a compatible binder. This creates a paste with body that can be placed into tire tracks, wall bases, and riverbanks.
While you lose some of the loose powdery look, you gain maximum durability. This is an excellent solution for gaming roads, building foundations, and areas players grasp frequently. You can always restore a dry look later by brushing a light layer of dry pigment over the high points once the mix has fully cured.
Workflow Order Matters
In most hobby projects, pigments come last.
1. Build & prime
2. Paint base coats, highlights, & washes
3. Add chipping effects & vegetation
4. Finish with pigments (dust, ash, grime)
If you apply pigments before placing tufts, bushes, or static grass, you risk muddying the colors and losing visual contrast.
Exceptions: If you want to integrate dried vegetation into a desert landscape, a light dust coat over the grass fibers at the end makes them look less "out of the bag." To simulate trodden mud, apply some pigment before and some after adding footsteps or debris. The key is to use pigment to bridge elements of the scene together.
Common Mistakes That Ruin Dust Effects
-
Saturating the piece: A ruin completely covered in brown or gray dust loses contrast and definition on the gaming table. Keep original paintwork visible, especially on walls, signs, metal parts, and narrative details.
-
Dragging the brush: Touching wet pigment creates streaks and tide marks that look like sloppy paint lines. Always let the fixer soak in via capillary action. If you need a stronger effect, let it dry and add another layer.
-
Using a single tone everywhere: Realism requires variety. Combine a dominant base color with darker tones in crevices and lighter tones on sharp edges, high-traffic paths, or dried areas.
-
Expecting indestructible armor: High-traffic scenery needs strong fixatives, but some powdery realism will naturally be traded for durability. Decide whether the piece is for a display case or a weekly gaming club.
The best testing ground isn't a test swatch—it's an inconspicuous area underneath your actual terrain piece. Dial in your pigment amount, fixer, and varnish there before touching the main facade. With a little practice, weathering pigments will stop being a fragile nuisance and become your best tool for immersive tabletop terrain!






